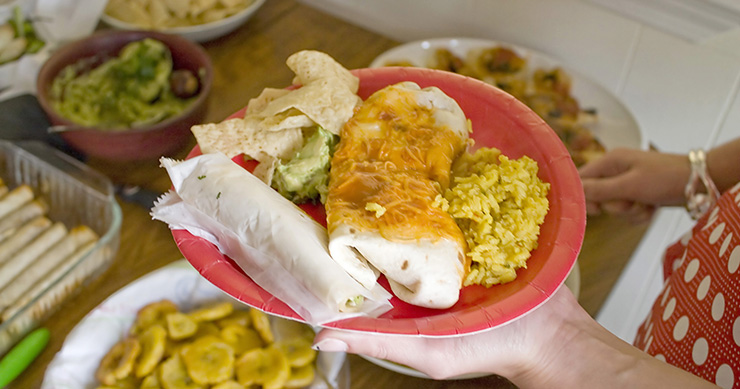
As we have discussed many times, the biggest cause of an inability to lose weight is by overeating. Sometimes this overeating habit is due to an addiction to food, and in many cases it is simply because of a lack of knowledge when it comes to portion sizes. But controlling portions on a plate is not always easy – this can be because we are unaware of the correct portion sizes, or it is just a force of habit to fill up a plate. While it is possible to eat full meals on a salad plate or saucer, we often skip this routine when we have guests over, and somehow end up putting more food on our larger plate than we should. One way to remedy this is to purchase Slimware plates – stylish plates that regulate portions without looking like a portion control plate. But these can be quite costly. So I endeavored to make my own portion control plates using an idea found on Pinterest for making home-designed plates. Read on to find out the results of this experiment.
Determining the proper sizes to draw on the plates was a bit trickier than I anticipated. The recommended portion size for protein in the form of lean meats is a deck of cards or the size of your palm. This one was easy – I made dots at all four corners of a deck of cards and made my flower fit within this realm. Fruits and vegetable sizes were a bit trickier, because the recommended size is something like two handfuls or the size of a baseball. This being a rounded description makes it difficult to figure out the size to draw on the plate. So I had to just envision how much space this might spread out to take up on the plate (plus I figured with fruits and vegetables, it would be okay if it was a little larger than it should be, since even on the Slimware plates they say it’s acceptable to go outside the lines on this type of food). The carb section proved just as tricky, since the description is an ice cream scoop full in most cases. Again, when you put this on a plate it will spread out. So I opted for a flower just slightly larger than the perimeter of an ice cream scoop. I figured if I eat less carbs than a full serving, it definitely won’t hurt my weight loss efforts.
When I was done with my (albeit childish-looking) flowers, the plate was still a little bare, so I added in some tiny flowers and some words around the edges that say “Eat…Love…Laugh…Live” and it created a slightly better look. One benefit of doing plates this way is once you make the investment in the paint markers, you can purchase additional plates at your local dollar store and practice and develop new designs without breaking the bank. Since I started with four plates (with the intention of making several different types) and my three children took over the others, I only had the one plate to work with – but it did make for a fun family day. I will be making more of them, but I will wait until spring when it’s a little warmer outside and I can open my windows to air out the house while the plates are baking. To Do Your Own
If you decide to attempt to make your own, the key is to wash the plates and dry them very well before beginning. Paint your designs and let them dry. Put them in a cool oven directly on the rack and turn the heat up to 350 degrees. Once the oven has preheated, set a timer for 20 minutes, leaving the plates in even when you turn the oven off. Once they are completely cooled (I even left mine in overnight), you can take them out and wash them (hand wash these plates only, as I’ve heard the paint can come off in the dishwasher) and they are ready to be used. Good luck!
Do you want great snacks that are low calorie and low carb to aid your weight loss efforts? Visit us at ThinSlim Foods to stock up today!

